
Scarcity rating equation ({# of bye teams} / 18 (teams) x 30 (squad)). This rating shows the likely amount of players missing based on squad size and number of teams on a bye.
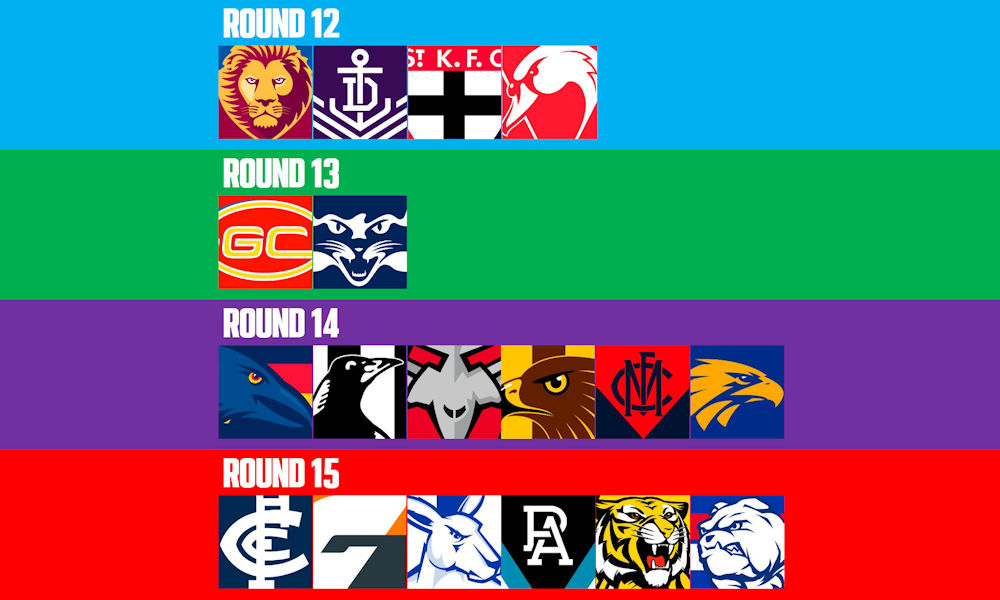
| Rd 12 | Rd 13 | Rd 14 | Rd 15 | |
| Ideal Split | 7 | 3 | 9 | 11 |
| Scarcity Rating | 6.6 | 3.3 | 10 | 10 |
Method
The goal is always to minimise the outs for each round and spread premo’s between different rounds as to avoid a round of either not enough premiums and/or not enough players in total.
The trading strategy is always a wave, trading out players yet-to-bye for players who have already bye’d.
It is possible this year to optimise players missing each round to 5/5/6/6 or any order combination of these numbers.
However, it would require a strict trade strategy and a relatively even spread of players between each bye round to start. 5/7/8/10 for example, could achieve players missing at 5/5/6/6, however would require 7 or 8 players from Gold Coast and/or Geelong.
Since Gold Coast and Geelong don’t have too many premium trade targets I’ve decided to minimise R13 players to 3, allowing me to keep higher numbers of Rd 14/15 options for the first bye round.
This will make the players missing each round, 7/3/6/6 (or players available 23/27/24/24)
Having 6 bye players missing for Rd 14 & Rd 15 is only possible if there’s 7 missing Rd 12. The only other alternative if The only way to have less than 6 missing in a round is to have more than 3 Rd 13 bye players at the start of the bye rounds. There are also combinations such as 7/3/8/12 which can still achieve 6 players missing from both Rd 14 & Rd 15, however I have kept them closer together for more flexibility with forced trades. If you stack the need for 3x Rd 15 trades going into Rd 15 for example, then a Rd 14 player gets injured and becomes a must trade, you may end up stuck with 7 or more missing from Rd 15!
So although it’s possible to avoid 7 missing in a round, starting with the 7x Rd 12 bye players allows:
1) More avoidance of R13 players & 2) More forced trade flexibility which may be handy considering it’s 4 weeks this year.
Weekly Trade Plan
Start: 7/3/9/11 (up to 23 green)
After Rd 12
Trade Out – Either 2x Rd 14 + 1x Rd 15 bye players, or 2x Rd 15 + 1 x Rd 14 bye players
Trade In – 3x Rd 12 bye players
Result: 10/3/7/10 (up to 27 green)
After Rd 13
Trade Out – Either 2x Rd 14 + 1x Rd 15 players, or 2x Rd 15 + 1 x Rd 14 players
Trade In – 3x Rd 12 bye players
Result: 13/3/6/8 (up to 24 green)
After Rd 14
Trade Out – Either 2x Rd 14 + 1x Rd 15 players, or 2x Rd 15 + 1 x Rd 14 players
Trade In – 3x Rd 12 bye players
Result: 13/3/9/5 (up to 25 green)


Podcasts


Calvin's Captains
Calvin’s Captains – Rd. 20


Trade Talk
Roy’s Rollin’ 22 – R17

Cash Cows
Fry’s Cash Cows – Rd. 17
Calvin's Captains
Calvin’s Captains – Rd. 18
Calvin's Captains
Calvin’s Captains – Rd. 19


Recent Comments